Pages

Showing posts with label graphics. Show all posts

Monday, April 14, 2014

~The invites are done~

I can't believe this school year is coming to a close so soon.  I just finished the invitations for the TOHS Cheer banquet.  Another year in the books for High School Cheer.  Here are some pictures of the banquet invites.  


Such a fun year of cheer, I learned so much being the Co-President of the Cheer Booster Club.  Next year is going to be awesome.  We will have lots of volunteers (one can only hope) and lots of organization and of we will have so much fun doing it!

xo


Linking up to:
Tattertots and Jello

Thursday, March 20, 2014

~Perfect Quote for the day~

I love this quote that I found on pinterest.
It about sums it up!!


There was no author credit for this quote

xo

Friday, July 13, 2012

A little flower pot...


I decided to try a little mod podge treatment on an old  terra cotta pot the other day and it turned out pretty cute!  I took a few pictures along the way.  It is sooo easy to do this transfer, don't be surprised if you see all of my pots outside turn into pots like this!


1st I painted the pot with a Martha Stewart paint in "Tailors Chalk".  I did this very quickly and not to neatly but I thought it didn't really matter, a plant will be in it, right?


Martha Stewart paint in "Tailors Chalk" 


Then I found a french graphic I liked on the "Graphics Fairy" blog and used a matte finish Mod Podge to adhere it to the pot


I let it dry overnight and then used a little water to peel off the paper and voila it turned out great!


I really like it even with some sand and a candle in it.


Try this technique it is really easy and looks great!

xo


Linking up to:
Savvy Southern Style


Tuesday, May 22, 2012

signs, signs everywhere are signs...

I have been wanting to make this "Create" sign since Christmas.  I originally saw a mug with the word "create" on it at one of my favorite stores (Paper Source) while doing my Christmas shopping.  I thought it would make an adorable sign.  So how many months later?  Here it is.  I thought I would take pictures along the way and show you how I did it.


First I found the font and size of letters I wanted.  I printed them out on the computer and then cut them out.


Then I turned them over and rubbed the back with a pencil, to create a transfer.


Then I placed them on the piece of wood and just used a pen to trace around the letters, this is what I got.


Then I just painted the letters with some black paint I already had.


After that I sanded the piece of wood down and rubbed it with some stain (I think it was pecan color stain)

The finished sign!


It sits on the top of my desk in my office along side of a picture of my boy playing baseball and my beautiful Mother's Day poem written by my daughter.
  Lets hope it gives me a little inspiration...


Have a great day!!

xo

Linking up to:
                      Savvy Southern Style
                      The Shabby Nest
                       The 36th Ave.
                       Remodelaholic
                       Tatertots & Jello
                       Under the Table and Dreamimg
          

Friday, April 27, 2012

~Teacher Appreciation~

I just came across this wonderful "Teacher Appreciation" print on this great blog called:
 The Balancing Home.
This would make a perfect gift for any teacher!!!

Click HERE if you would like to download it.


Don't you love it?  I could see this framed with a big bow around it!
Teacher Appreciation week is approaching quickly!

xo

Monday, April 16, 2012

"You are my Sunshine"

Here is a really easy way to do a transfer onto fabric.  Guess where you do it?  Right through your inkjet printer, who would have guessed you can put fabric through your inkjet printer.  I never did!!!  I first saw this technique (If you really want to call it that) on the blog "Under the Table and Dreaming".  I had to try it out.  so this is how it goes...


You will need cardstock paper, thin fabric, spray adhesive ( I used what I had on hand from Joanne's-Tacky Spray)  and something to transfer.  I used the "You are My Sunshine" graphic that was used on "Under the Table and dreaming" blog.

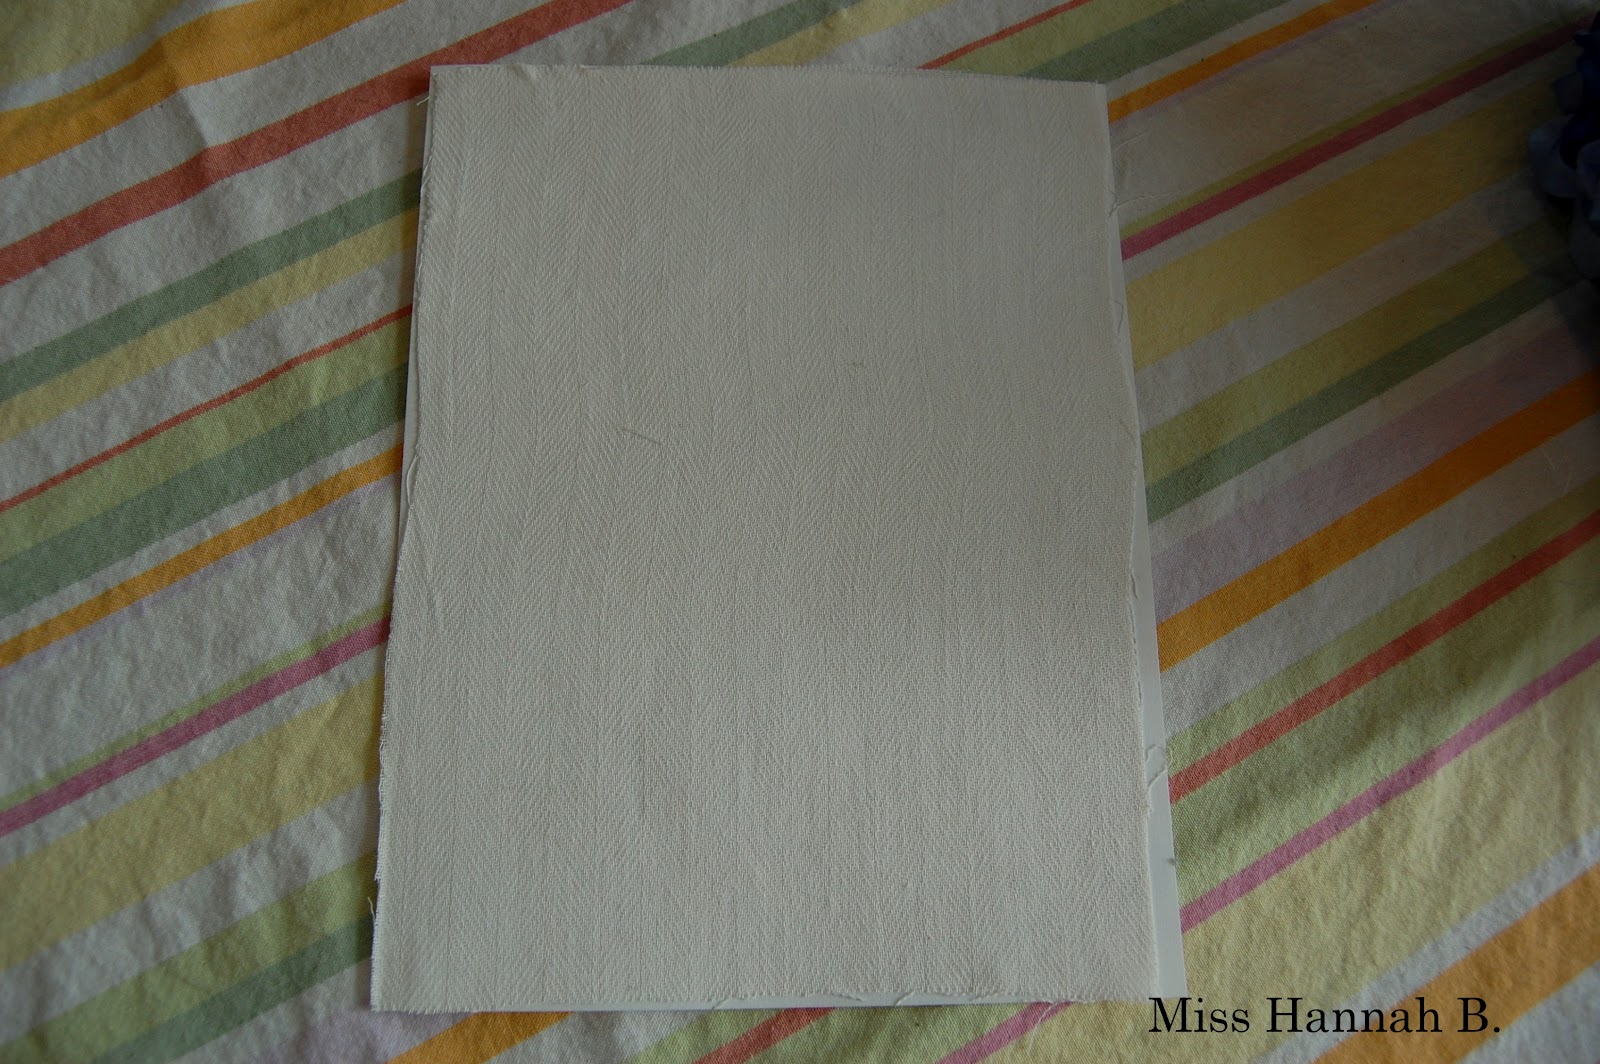
1. Cut your very thin fabric to the size of the cardstock.  Mine was 81/2 x 11.
2. Spray the cardstock (In a ventaliated area) with the tacky spray.  I just went along with the directions        on the can.
3. Place the fabric carefully on the cardstock.
4. pull up your graphic on your printer and select "Print".  I did a test print on regular printer paper just to make sure the graphic would print correctly.
Make sure the fabric is placed in your printer the correct side up so it will actually print on the fabric.
*Note: You don't have the reverse the print doing it this way!
5. Voila, it should be perfect, now you can frame it.
6. I used an inexpensive black frame from Ikea.

I have included the graphic as a jpeg for you to use (courtesy of "under the Table and Dreaming")


I hope you all give this a try.  It's fun and easy peasy!
xo

Linking up with:
                         Between Naps on the Porch
                         Uncommon Slice of Suburbia
                         Savvy Southern Style
                         The Shabby Nest
                          Funky Junk Interiors
                         Tatertots & Jello

Sunday, February 26, 2012

Subway Prints...

I just did a fantastic subway print for my family room (well " I " think it is fantastic). I did it in a very personal way.  I included all of my families important dates, streets we have lived on along with the cities.  I put in our pets names and special words we like to use as well.  The sign is 24" x 36", a large poster size and it is all done in black and white like a true subway sign.  Of course it is not hung on the wall just yet but I couldn't wait to put it on the blog.  Let me know what you think?  If anyone is interested I might start selling them!!!


Sorry for the not so great pictures, just couldn't wait to post it!
Have a great day!
xo

Friday, January 13, 2012

*Fonts, Fonts, Fonts*

I just go crazy over new "Fonts"! I just can't get enough of  letters and numbers.  I love them on stationery, plates/cups, I love them framed, on wood, and signs (especially on old signs).  I get so excited when they pop up on Pinterest, I have to download them immediately.  Here are some I have found...


I found these on Pinterest here.


Check out the fonts from Emily at Jones design Company
Love them!!!


These were found on Pinterest here 


I suggest you download these great fonts today, so you can start doing some fun projects with them!!!
I know I am...

Have a great weekend!
Related Posts Plugin for WordPress, Blogger...