Pages

Showing posts with label Tutorials. Show all posts

Tuesday, May 22, 2012

signs, signs everywhere are signs...

I have been wanting to make this "Create" sign since Christmas.  I originally saw a mug with the word "create" on it at one of my favorite stores (Paper Source) while doing my Christmas shopping.  I thought it would make an adorable sign.  So how many months later?  Here it is.  I thought I would take pictures along the way and show you how I did it.


First I found the font and size of letters I wanted.  I printed them out on the computer and then cut them out.


Then I turned them over and rubbed the back with a pencil, to create a transfer.


Then I placed them on the piece of wood and just used a pen to trace around the letters, this is what I got.


Then I just painted the letters with some black paint I already had.


After that I sanded the piece of wood down and rubbed it with some stain (I think it was pecan color stain)

The finished sign!


It sits on the top of my desk in my office along side of a picture of my boy playing baseball and my beautiful Mother's Day poem written by my daughter.
  Lets hope it gives me a little inspiration...


Have a great day!!

xo

Linking up to:
                      Savvy Southern Style
                      The Shabby Nest
                       The 36th Ave.
                       Remodelaholic
                       Tatertots & Jello
                       Under the Table and Dreamimg
          

Monday, April 16, 2012

"You are my Sunshine"

Here is a really easy way to do a transfer onto fabric.  Guess where you do it?  Right through your inkjet printer, who would have guessed you can put fabric through your inkjet printer.  I never did!!!  I first saw this technique (If you really want to call it that) on the blog "Under the Table and Dreaming".  I had to try it out.  so this is how it goes...


You will need cardstock paper, thin fabric, spray adhesive ( I used what I had on hand from Joanne's-Tacky Spray)  and something to transfer.  I used the "You are My Sunshine" graphic that was used on "Under the Table and dreaming" blog.

1. Cut your very thin fabric to the size of the cardstock.  Mine was 81/2 x 11.
2. Spray the cardstock (In a ventaliated area) with the tacky spray.  I just went along with the directions        on the can.
3. Place the fabric carefully on the cardstock.
4. pull up your graphic on your printer and select "Print".  I did a test print on regular printer paper just to make sure the graphic would print correctly.
Make sure the fabric is placed in your printer the correct side up so it will actually print on the fabric.
*Note: You don't have the reverse the print doing it this way!
5. Voila, it should be perfect, now you can frame it.
6. I used an inexpensive black frame from Ikea.

I have included the graphic as a jpeg for you to use (courtesy of "under the Table and Dreaming")


I hope you all give this a try.  It's fun and easy peasy!
xo

Linking up with:
                         Between Naps on the Porch
                         Uncommon Slice of Suburbia
                         Savvy Southern Style
                         The Shabby Nest
                          Funky Junk Interiors
                         Tatertots & Jello

Monday, March 26, 2012

Do you love Numbers?

I love numbers.  I love the way they look, they are so graphic, especially in black and white.  Now don't get me wrong I don't love numbers like an accountant might love numbers, I just love the way they look.  Kind of goofy, huh?  So I saw this post from one of the blogs I am following called A Thoughtful Place and had to try this out.  I  bought some pillow covers from Ikea and got to work on my computer.  I figured out what font I wanted and then changed their size to "huge".  I printed them on cardstock and proceeded to cut them out.  I then traced them onto the pillow covers with a pencil.  I found that on the second pillow cover I could skip this step and immediately trace the number with a skinny sharpie.  Then I filled it in with a thick black sharpie (kind of stinkie)  and then used fabric paint and painted over the entire black area of the number.  I was very pleased with the end result and so easy peasy!

The inspiration: These were from Pottery Barn a long time ago...


These are the Ikea pillow covers...


My numbers ready to cut out...


The number "2" just finished painting...


Pillow number 2 done...


Pillow number 3 done...


And both pillows together...


I don't have any good reason why I did the numbers 2 & 3 other then I like the way these numbers look.
What do you think, are you a number person???

xoxo

Linking up to:  Between Naps on the Porch
                       Uncommon Slice of Suburbia
                       Home Stories A2Z
                       Savvy Southern Style
                       The Shabby Nest
                       Remodelaholic
                       Tatertots & Jello
                       Funky Junk Interiors
                       Under the Table and Dreaming

Saturday, October 15, 2011

~Coffee Filter Wreath~

I absolutely love these coffee filter wreath's. They have been around the blog world for a while but I have yet to make one, so I am getting ready to get my glue gun out and start glueing.  It looks so easy.  Depending on your decor you can use natural colored coffee filters for that "Natural" look or white filters for that bright, clean look.  I love them both! Check out the tutorial here at the "Nesting Place" Blog.


Here is a beautiful sphere made of coffee filters!


And here is an adorable garland made with dyed coffee filters, love that!

All photos via "The Nesting Place"

I hope you all try these easy fun wreaths and have a fantastic weekend!


Saturday, August 13, 2011

~This is beautiful~

I just spotted this on one of my favorite blogs.  You can get the tutorial here on Love Maegan.
If you try it, tell me how it works out.  I am hoping Miss Hannah B. will let me try it on her!


Tuesday, August 2, 2011

~Cute Summertime Crafts~

I decided to try this adorable craft that I found on this blog.  Emily from Jones Design Company is fantastic with giving instructions on her crafts.
These were made with some cute paper I already had so all I purchased was the lollipop sticks.


Try making them with your kids, they are really fun!


Monday, June 27, 2011

~My First Tutorial~

Well, here goes my first try at a tutorial...
A little explanation first.  I came across this new way (I am not sure if it's new) to transfer an image onto fabric and decided to give it whirl.  It turned out pretty well so here are some photos and the "how-to"!
If you don't want to go through the hassle I mean fun you will be able to purchase the tea towels at "Hoot N' Anny" here in Westlake Village.  I have a few of my items for sale in that adorable shop!


These are the items you need to begin the project:  An image you would like to transfer, Citrosolv - (can be purchased at Wholefoods), Newspaper, Small Bowl, Small Paintbrush, and a Spoon.


1.You will need to find your image. You can find images on any number of websites on the Internet, I found mine at the Graphics Fairy, here, (I am partial to french graphics) and then make a copy of it backwards (easily done in your printer properties menu as an iron-on transfer) 
2.Then take it to your nearest copy center and make a copy of the print backwards on a toner printer.  It has to be printed with a toner printer. (I did mine at Rite Aid, they cost me 15 cents each)
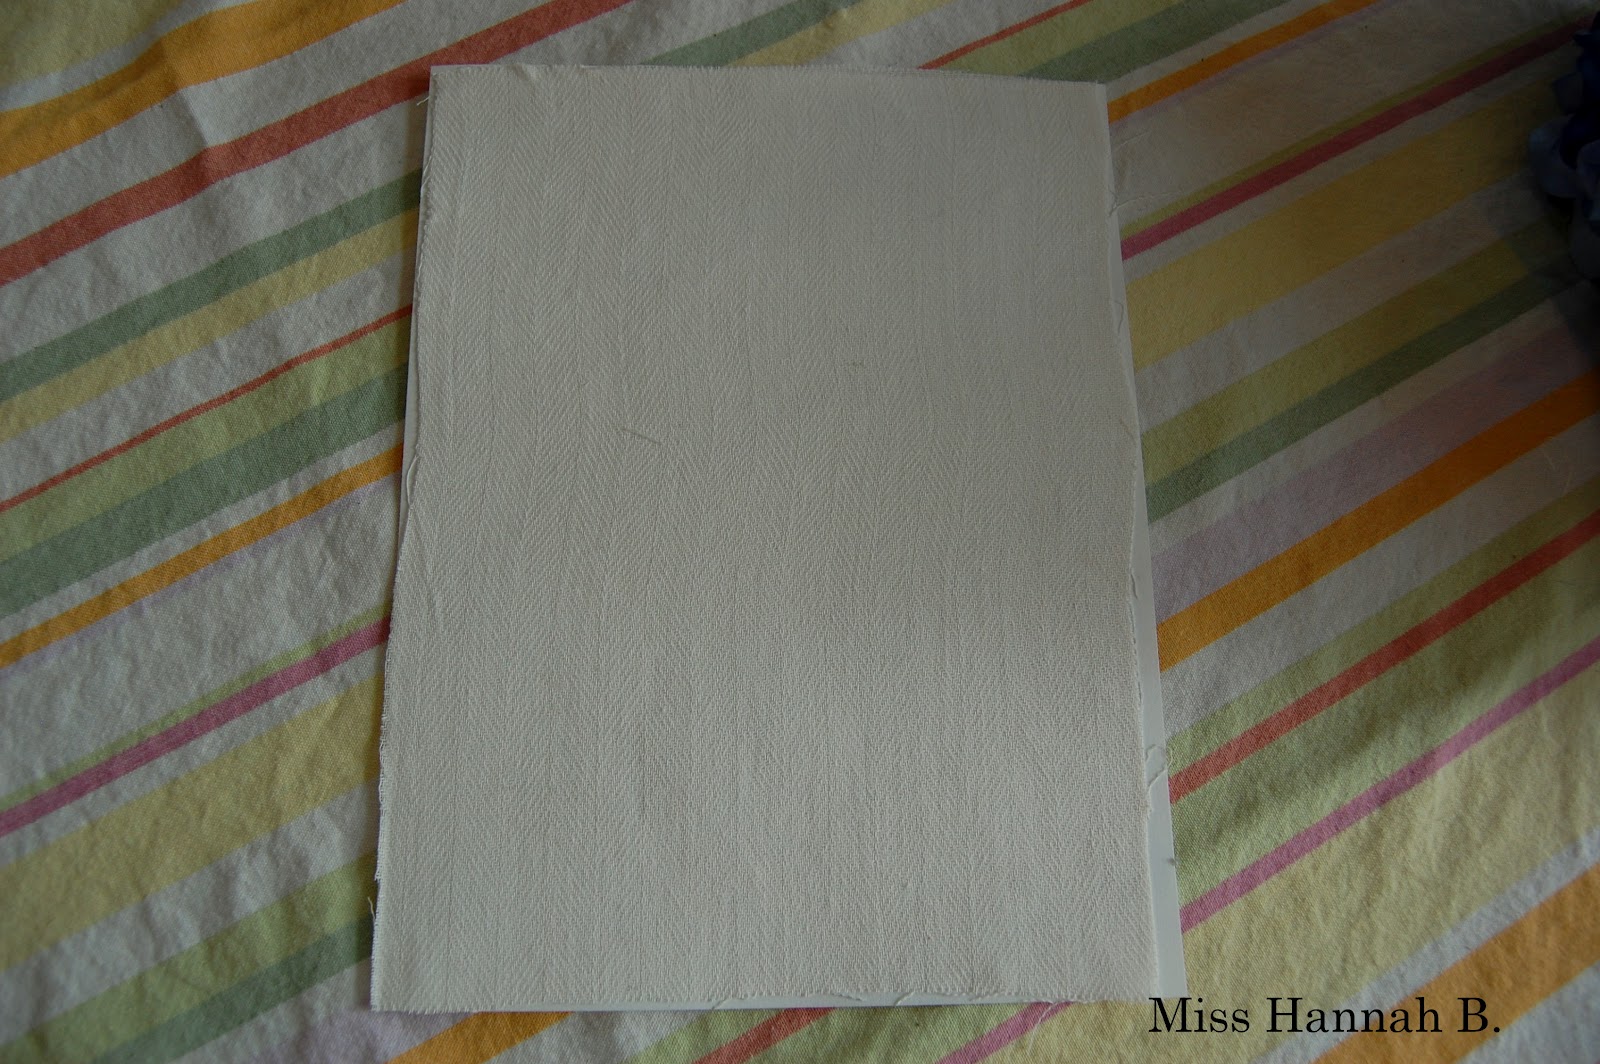
3.Place the copy print side down on your fabric, obviously white fabric will work best with the black ink image.
The picture below has not been done correctly. 


This picture below is correct.  Make sure you tape it down so there is no movement of the picture when transferring.


4.Then you will pour some of the Citrosolv into a small dish (this is potent stuff with a heavy odor-I suggest you do this outside. 
5. With your small brush lightly dip into the Citrosolv and brush all over image.  You don't have to completely saturate it.  
6.Then use the back of your spoon and burnish it (rub the image rather firmly with the back of the spoon)  7.Then take the image off the fabric and let it dry. 
8. Once it is dry go over image with an iron making sure the Citrosolv is gone.
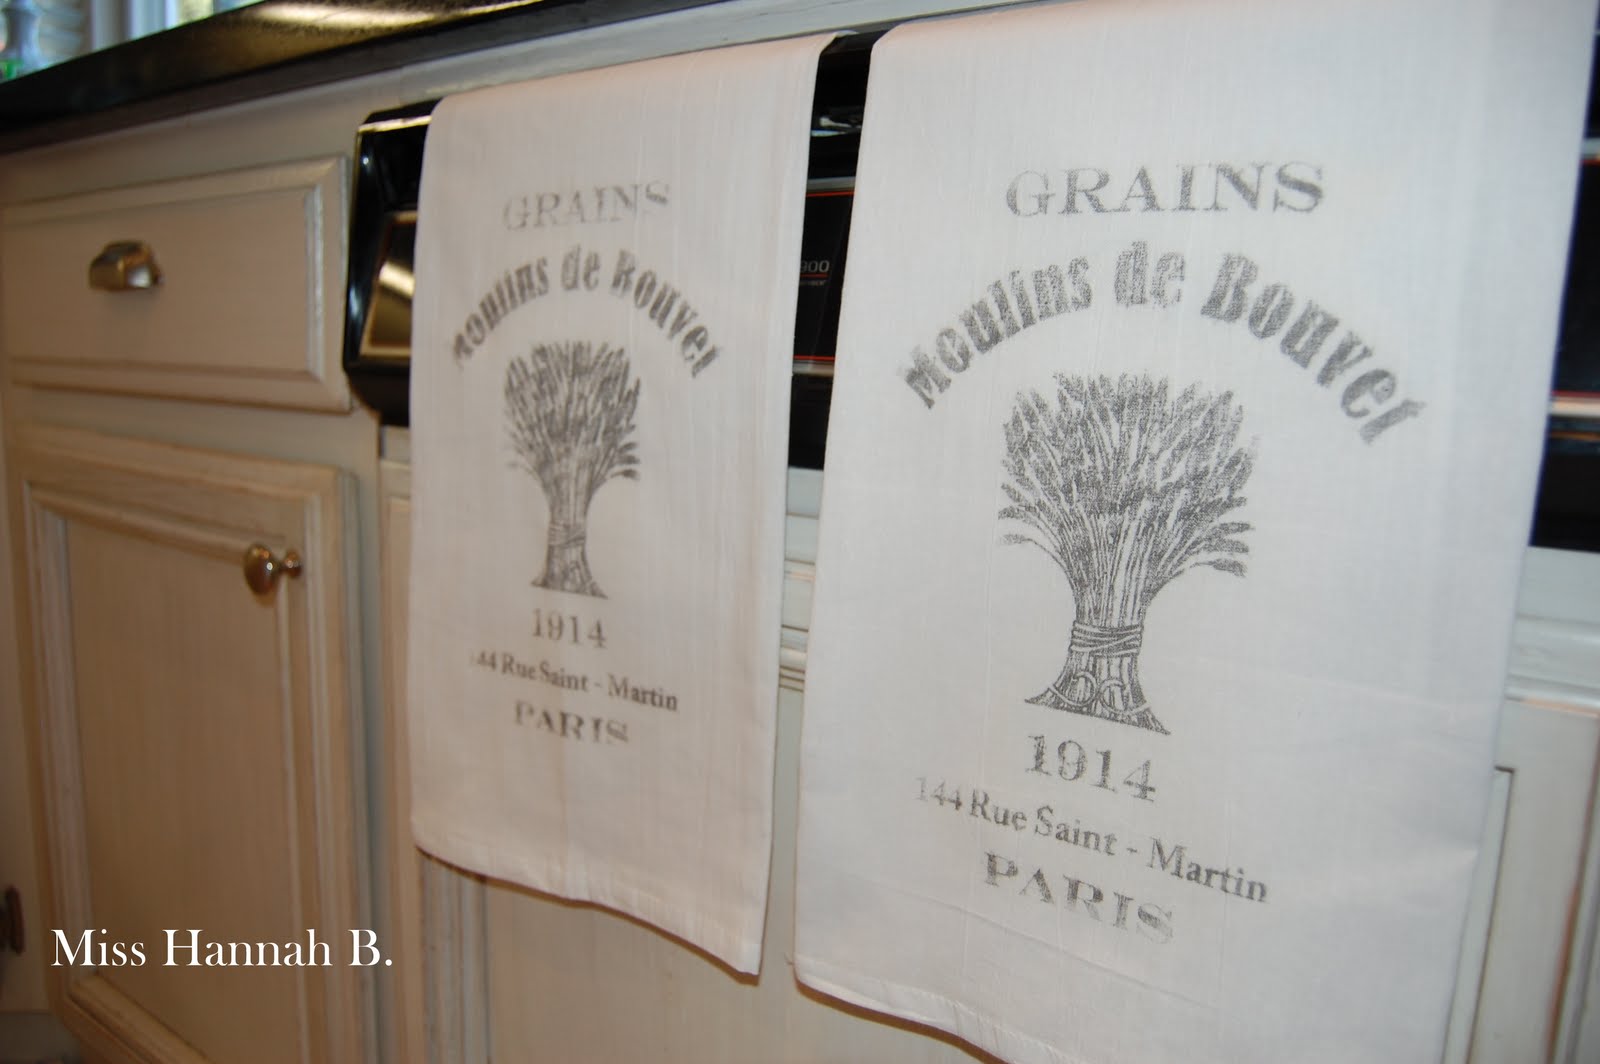
That's it!  


I love them.  It really is an easy way to do an image transfer onto fabric.
Hope you try it!!!
Related Posts Plugin for WordPress, Blogger...